
How to Paint Moody Birch Trees in Watercolor
Share
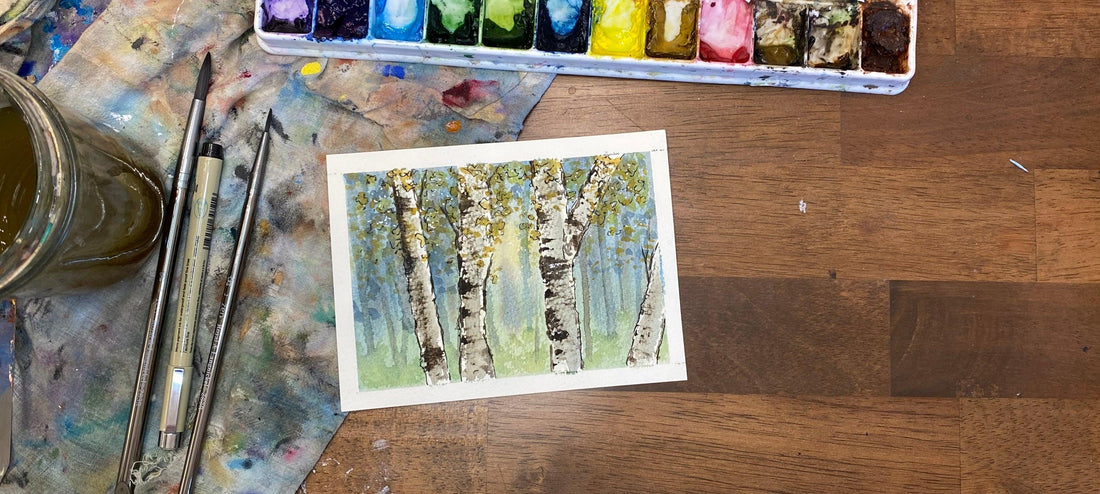
Birch trees, with their bright white bark and distinct dark markings, are a favorite subject for watercolor artists.
Their striking contrast and simple forms make them perfect for beginners and experienced painters alike.
In this tutorial, I'll show you a simple technique to paint beautiful birch trees, using painter's tape to keep their signature white trunks clean while you paint the surrounding forest.
To watch the video, click here!
Step 1: Gather Your Materials
Before you begin, make sure you have all your supplies ready:
- Watercolor paper
- Painter’s tape or masking fluid (to protect the white bark)
- A variety of watercolor paints (I recommend earthy tones for the background)
- A large round brush for the background wash and a smaller brush for the details
- A plastic card or palette knife
- A water container and paper towel
Step 2: Tape Off the Birch Trees
Start by taping off where the trunks of the birch trees will be.
This allows you to freely paint the background without worrying about keeping the trees white.
Birch trees have thin, narrow trunks, so using thin strips of tape or tearing the tape into organic shapes can help create a more natural look.
Step 3: Paint the Background
With the trees safely masked off, you can focus on painting the background.
For a moody forest scene, I like to use soft washes of blues and grays with a spot of yellow for a distant sunny glow.
Let your paint blend and flow to create depth, but avoid letting your blue/gray and yellow mix. Add bits of green and brown to the bottom to elude to the forest floor.
Step 4: Prepare the Birch Trees
Once the background is dry, carefully remove the tape to reveal the bright white trunks of your birch trees.
Mix up a watery gray and paint it along the center of the birch tree. Let it dry.
Step 5: Add Texture to the Birch Bark
Once the gray paint is dry, it's time to add those distinctive markings that give birch trees their character!
Using a plastic card or palette knife, scrape black paint across the surface of the trunk making random and varied horizontal marks.
Step 6: Adding Leaves
Using a smaller brush, add a variety of yellow blobs for leaves. These leaves should not be very dense and stay located near the tops of the page.
Allow some of the leaves to overlap the trunk to create depth.
Final Touches
For the finishing touches, add a few shadows along one side of the tree trunks to give them dimension.
I like to use a very light wash of blue or gray for this.
You can also add more details to the background, like distant tree branches or leaves, to enhance the depth of your scene.
Congratulations! You've painted some moody birch trees.
If you're looking for even more watercolor tips and tutorials, follow along on instagram or youtube.
Happy Painting!
-Alyssa


